Connections in Dynamics 365 enable you create and view the relationships between multiple records across multiple entities, these could be Accounts, Contacts, Quotes, and Cases etc. From any entity you can see an overview of its relationships, helping drive better Sales and Marketing.
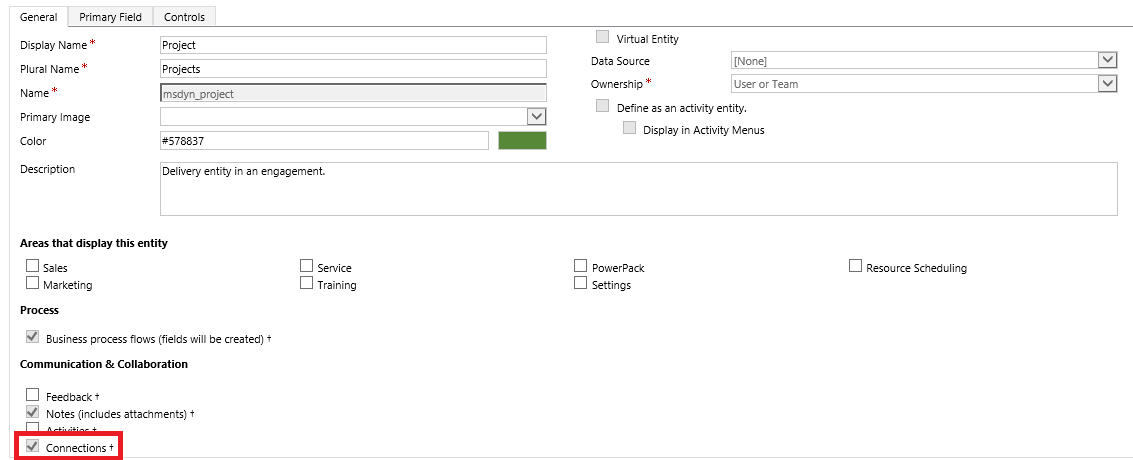
The connections functionality is also available to use on custom entities that have been enabled for Connections, this can be enabled in the entity settings as shown below.
Please note: when this feature has been enabled it cannot be disabled.
Creating a connection
To create a new Connection in Dynamics 365, first navigate to the record you want to add the Connection to. Then follow the below steps.
1. From the record, navigate to the Connections entity via the related entities (as shown below)

2. You will now be presented with the below screen, from here click Connect

3. The below window will now open, this is where the Connection record is created.
a. Populate the ‘Name’ lookup field with the record you want to connect to
b. Select the role from the ‘As this role’ lookup field
c. Add a brief description of the relationship between the two records if needed
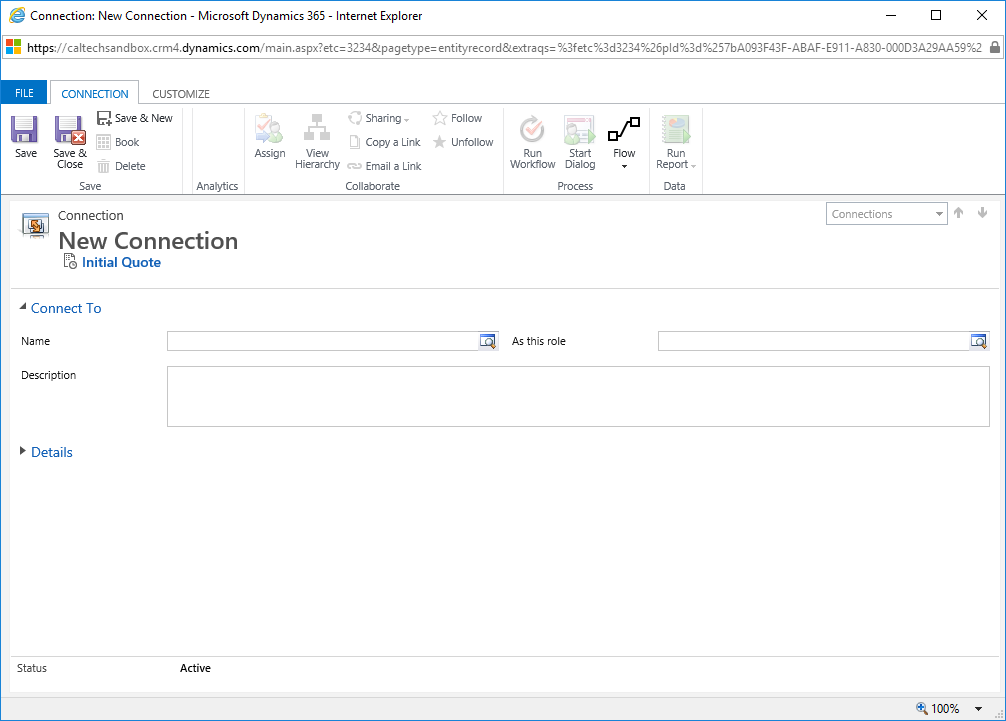
4. Once the fields have been populated, click Save & Close. The connection will now be created.
Creating a connection role
If the out of the box entities don’t suit your business needs then new roles can be created by following the below steps:
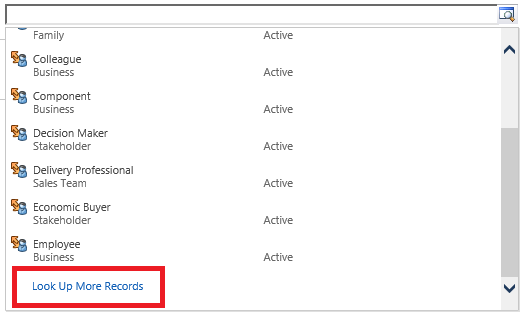
1. When on the connection record, click into the ‘As this role’ lookup field
2. Scroll down the list of options until you get to the ‘Look Up More Records’ option
3. After this has been clicked, a new window will open. From here click New

4. In the new window, under the Step 1 section, enter the name of the Connection Role & a brief description
5. Under the Step 2 section you can either select for the Connection Role to be available on all entities. Alternatively, you can select ‘Only these record types’ and then select the specific entities the role needs to be available for.
6. Once the above steps have been actioned, click Save
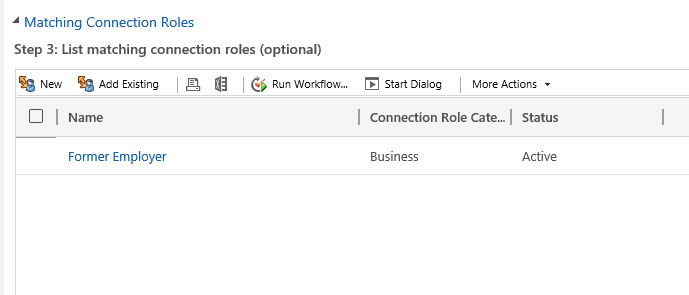
7. Once the record has been saved, the below sub-grid will become available.
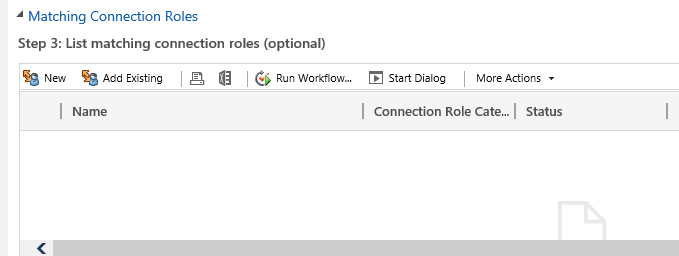
8. In this sub-grid you can add matching Connection Roles, by clicking the ‘Add Existing’ button and selecting the matching role. These will display on the other side of the relationship, for example the Employer connection role has a matching role of Employee.